Documentation
- Cluster Setup Guide
- Add a Stream
- How to watch your stream
- Content Triggers
- How to Go Live with Zeus and OBS
Cluster Setup Guide
This guide will help you set up your Zeus Cluster by adding the necessary servers, configuring endpoints, and installing your SSL certificate.
1. Log In & Create Your Cluster
-
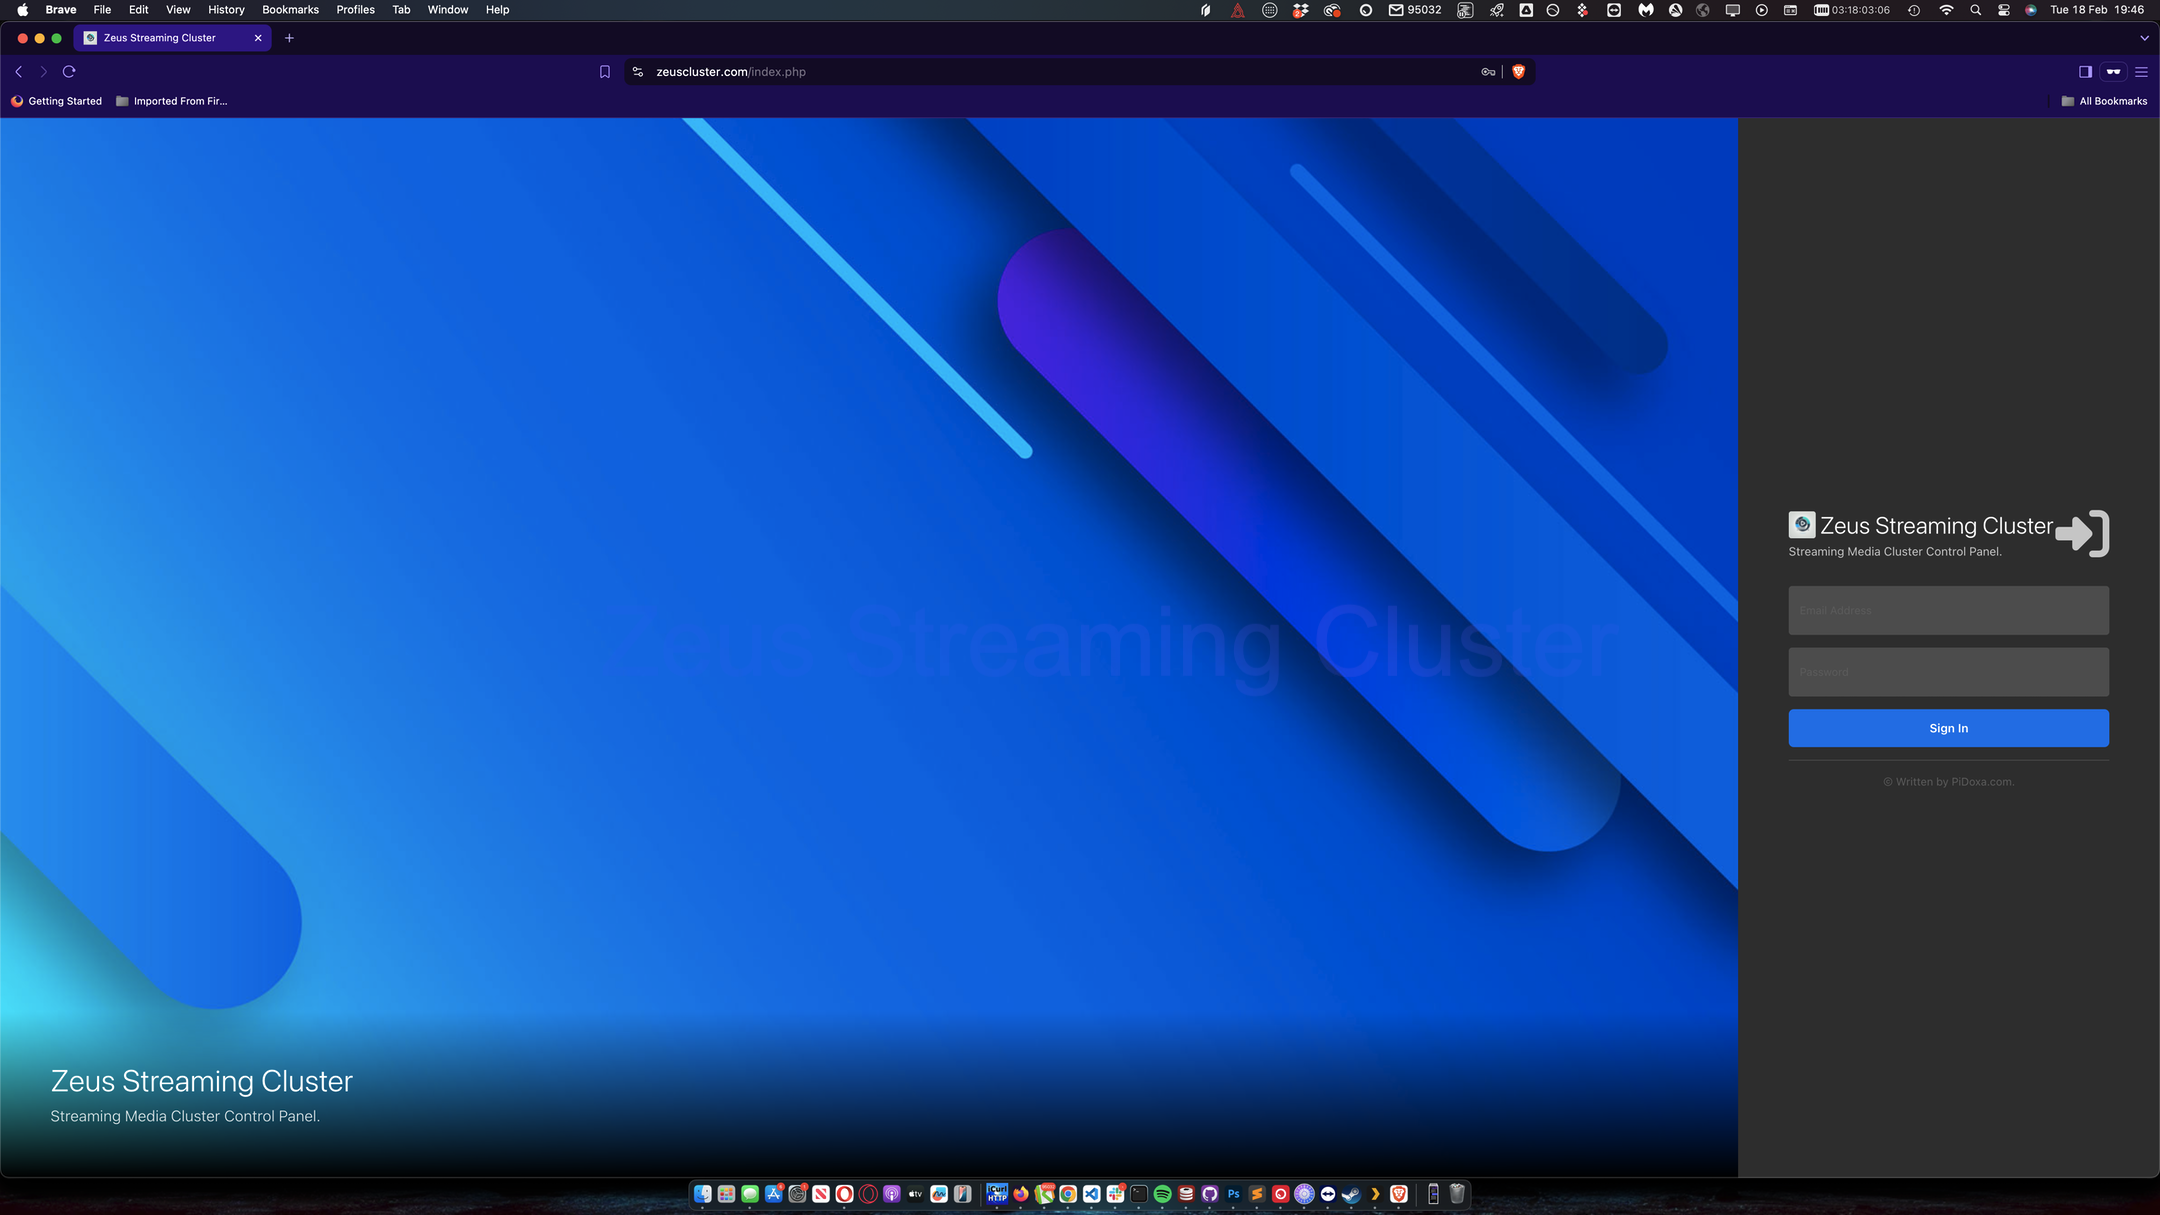
Log In to Your Account
- Navigate to zeuscluster.com and log in with your credentials.
-
Access the Clusters Page
- In the left-hand menu, click on Clusters.
-
Add a New Cluster
- In the upper-right corner, click Actions > Add Cluster.
- Enter a Cluster Name of your choice.
- Click Submit.
- You will be redirected to the Cluster Overview page.
2. Add Servers to Your Cluster
Each server in your cluster must be added and installed separately.
2.1 Add a Server
-
Start the Process
- In the Cluster Overview page, in the upper-right corner, click Actions > Add Server.
-
Enter Server Details
- Server Name: Give your server a recognizable name.
- Server Hostname: Enter a valid DNS entry that is pre-configured for this server.
- Select Server Role: Choose the appropriate role from the list.
-
Server Installation Script
- After submitting, you will be taken to the Server Overview page.
- A server installation script will be displayed.
- Copy the installation command.
-
Run the Installation Script
- Open an SSH terminal connected to the new server.
- Paste and run the installation command.
- The server will start installing and will automatically reboot once the installation is complete.
- After reboot, refresh the Cluster Overview page in the CMS to view updated server stats.
2.2 Repeat for Each Required Server Role
Ensure that you complete the above steps for each of the following server roles:
- 1 x RTMP Server
- 1 x Transcoding Server
- 1 x Load Balancing Server
Note: You must have at least one server installed for each role before proceeding.
3. Configure Cluster Settings
Once you have added all required servers, update additional cluster information.
4. Install an SSL Certificate on the Load Balancing Server
-
Locate the Load Balancer
- In the Cluster Overview, find your Load Balancing Server in the list of servers.
-
Begin SSL Installation
- On the right-hand side of the Load Balancer row, click Actions > Install SSL Certificate.
- A unique SSL installation script will be displayed.
-
Run the SSL Installation Script
- Open an SSH terminal on your Load Balancing Server.
- Copy the SSL installation script and paste it into the terminal.
- Run the script to install the SSL certificate.
5. Finalizing Setup
- Once the SSL installation is complete, your Zeus Cluster is fully installed and configured.
- Your servers are now ready for stream creation and broadcasting.
Congratulations!
Your Zeus Cluster is now set up and ready to handle live streaming events.
Add a Stream
-
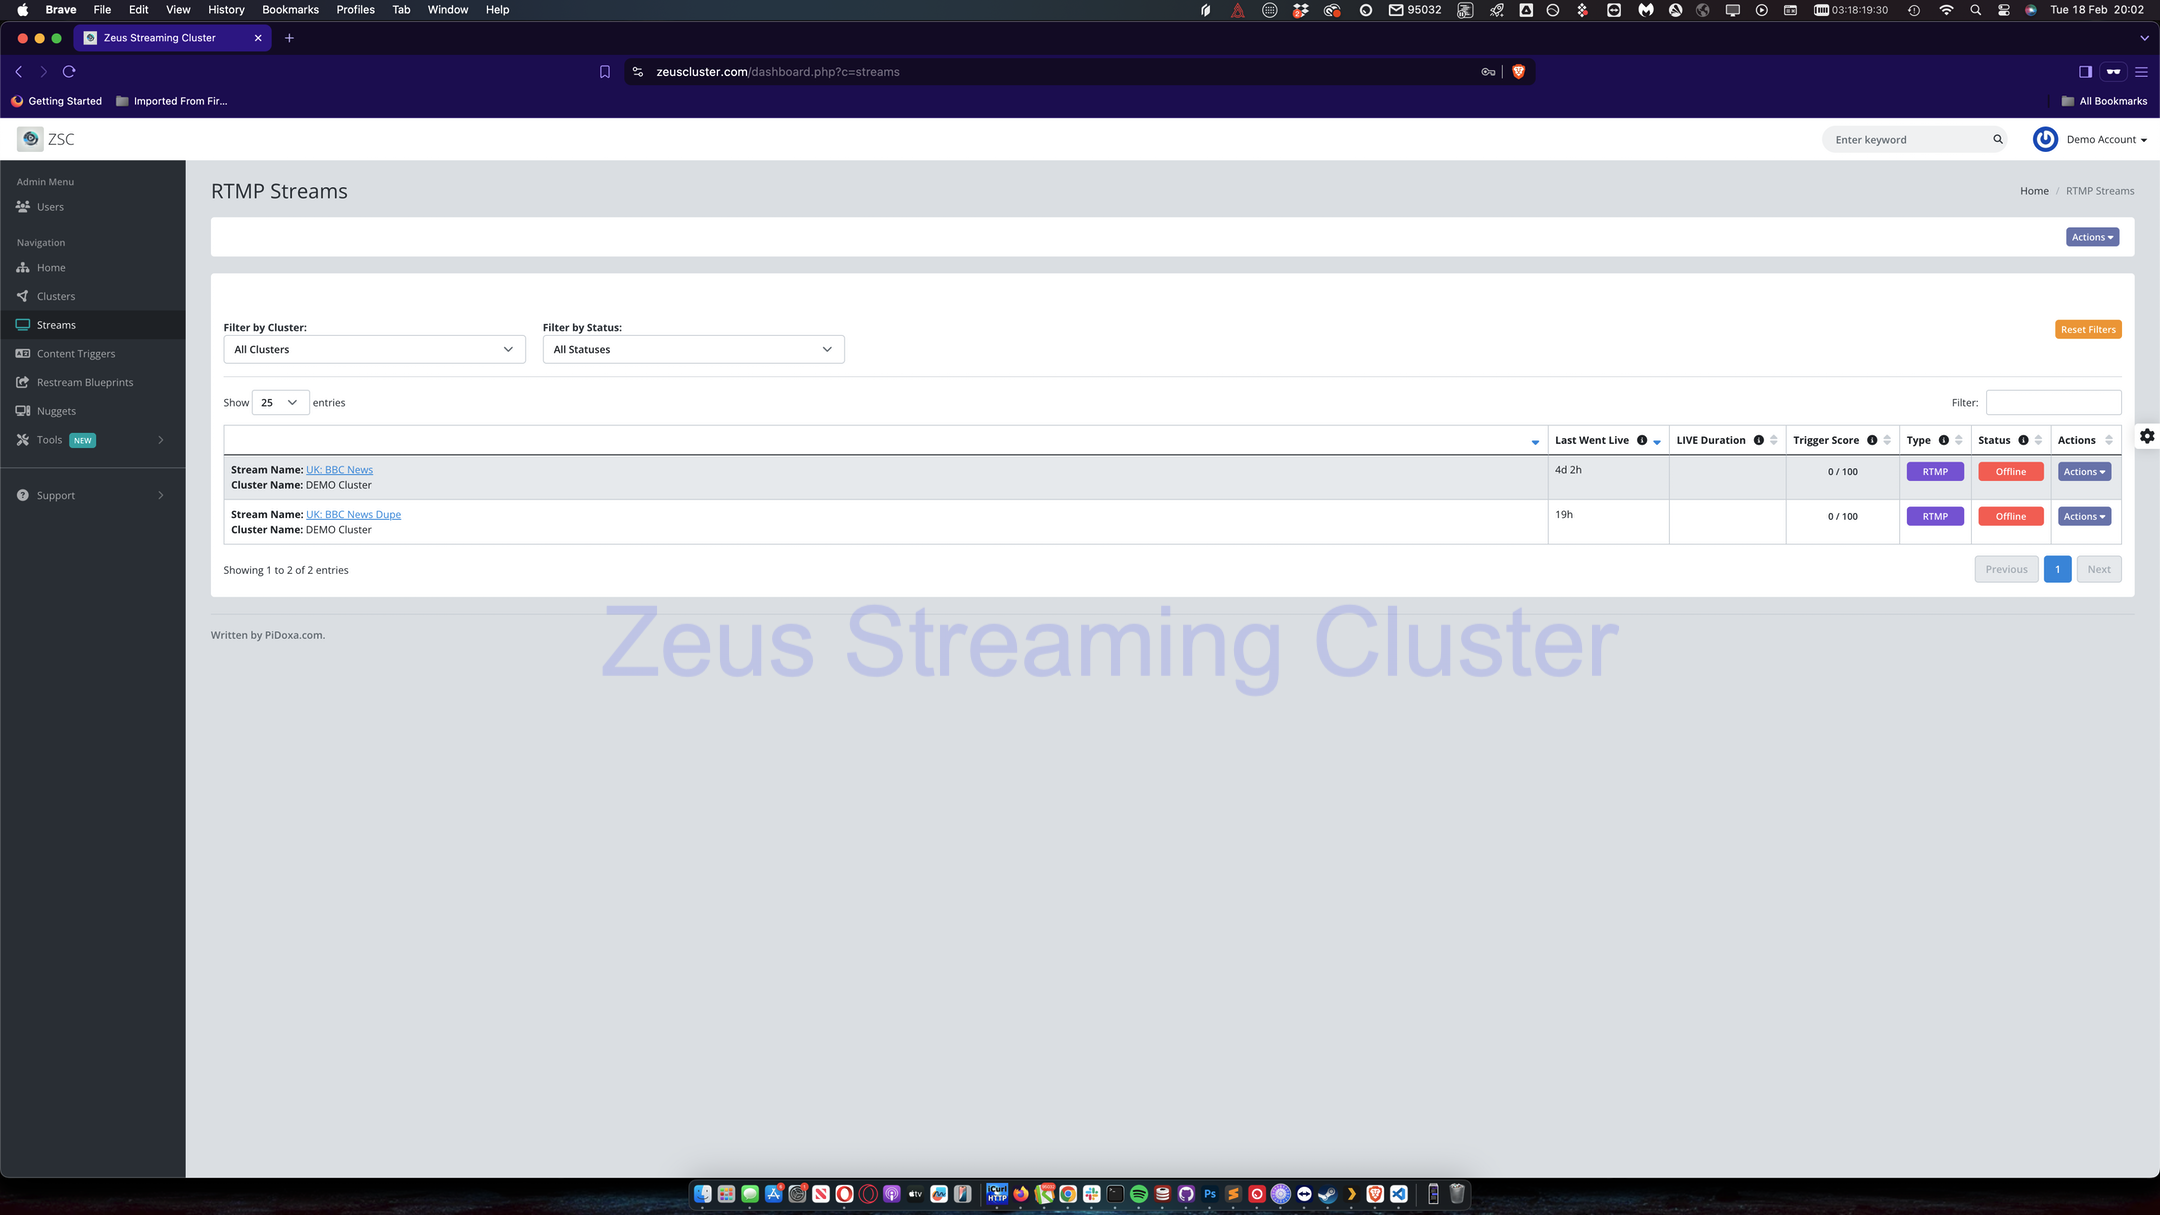
Access the Streams Section
- In the left-hand menu, click Streams to navigate to the streams overview page.
-
Add a New RTMP Stream
- In the upper-right corner of the page, click Actions > Add RTMP Stream.
-
Configure Your Stream
- Select Your Cluster: Choose the desired cluster from the dropdown list.
- Enter a Stream Name: Provide a name for your stream.
-
Retrieve Your Streaming Details
- After submitting, you will be redirected to a page displaying your RTMP Server and RTMP Key.
-
Start Streaming
- Enter the provided RTMP Server and RTMP Key into your streaming software (e.g., OBS, vMIX, or any other RTMP streaming client).
- Your stream is now ready to go live!
Follow these steps to seamlessly add and configure a new stream on your Zeus Cluster. Happy streaming!
How to watch your stream
-
Access the Streams Overview
- From the left-hand menu, select Streams.
- This will take you to the streams overview page.
-
Locate Your Stream
- Scroll down until you find your stream.
- Or, use the search box in the upper-right corner of the table to filter and locate your stream.
-
View Stream Metrics
- On the right-hand side of your stream row, click Actions > View Stream Metrics.
- This opens the overview page for your specific stream.
-
Get Connection Details
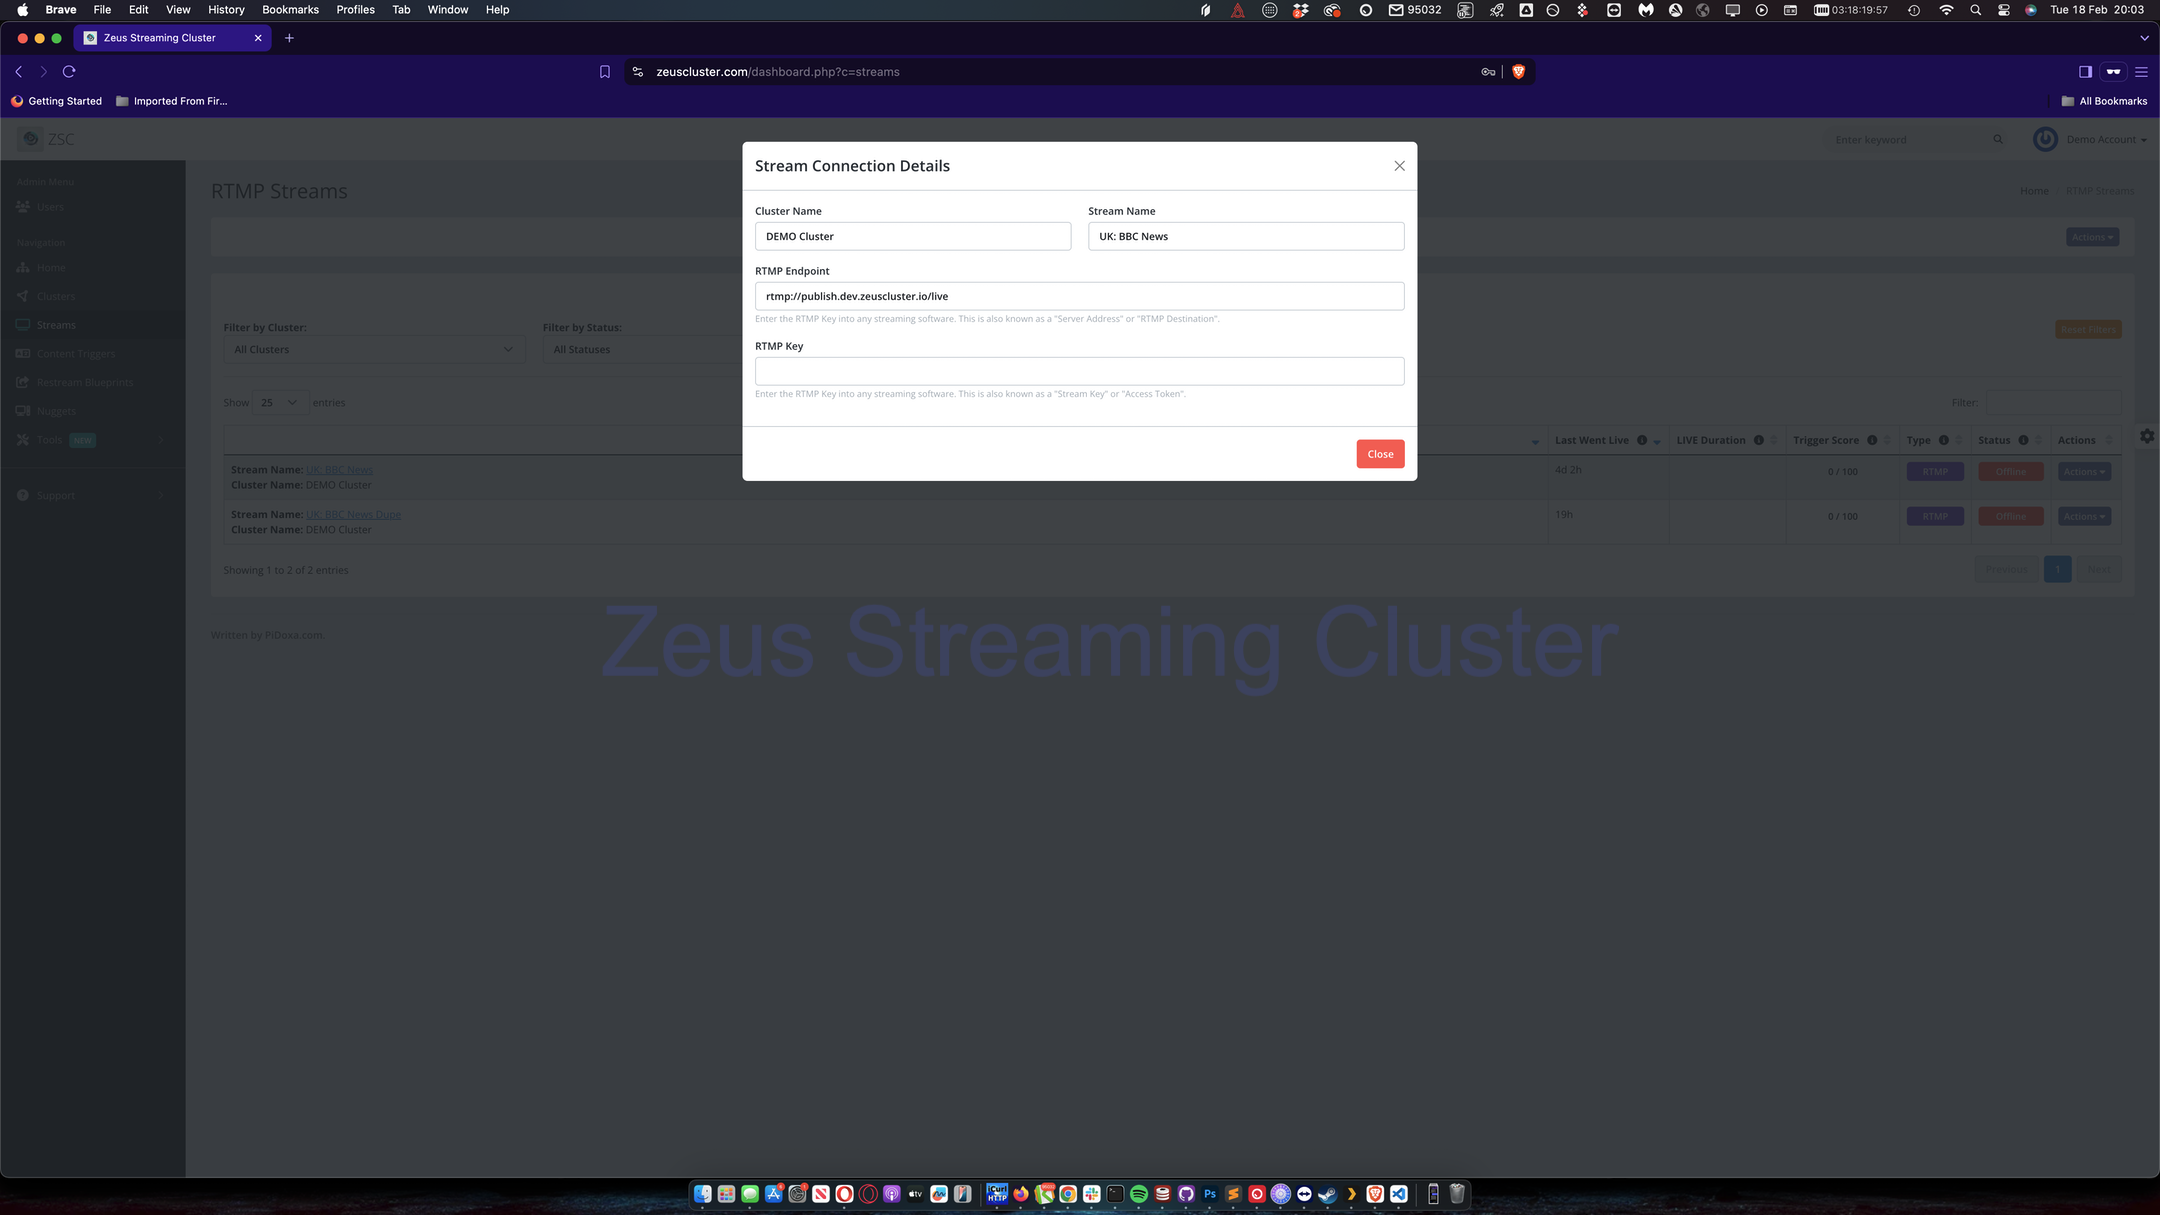
- On the stream overview page, in the upper-right corner, click Actions > Connection Details.
- A details page will appear, providing you with the following information:
- RTMP Server – The server endpoint for streaming.
- RTMP Key – The unique key associated with your stream.
- RAW HLS Endpoint – A direct HLS feed from the RTMP server without transcoding (for internal pre-processing only).
- Transcoded HLS Endpoint – A feed that has been transcoded for adaptive bitrate (ABR) and multi-bitrate delivery; ideal for passing to CDNs.
- HTML5 Web Player – Preconfigured HTML and JavaScript markup to embed the live stream directly onto any website.
-
Watch Your Stream
- Use the Transcoded HLS Endpoint or embed the HTML5 Web Player code on your website to watch the live stream.
- Note: Avoid sharing the RAW HLS Endpoint publicly as it’s intended only for additional processing.
With these steps, you can easily access and monitor your live stream. Enjoy watching your stream in action!
-
Access the Streams Overview
- From the left-hand menu, select Streams.
- This will take you to the streams overview page.
-
Locate Your Stream
- Scroll down until you find your stream.
- Or, use the search box in the upper-right corner of the table to filter and locate your stream.
-
View Stream Metrics
- On the right-hand side of your stream row, click Actions > View Stream Metrics.
- This opens the overview page for your specific stream.
-
Get Connection Details
- On the stream overview page, in the upper-right corner, click Actions > Connection Details.
- A details page will appear, providing you with the following information:
- RTMP Server – The server endpoint for streaming.
- RTMP Key – The unique key associated with your stream.
- RAW HLS Endpoint – A direct HLS feed from the RTMP server without transcoding (for internal pre-processing only).
- Transcoded HLS Endpoint – A feed that has been transcoded for adaptive bitrate (ABR) and multi-bitrate delivery; ideal for passing to CDNs.
- HTML5 Web Player – Preconfigured HTML and JavaScript markup to embed the live stream directly onto any website.
-
Watch Your Stream
- Use the Transcoded HLS Endpoint or embed the HTML5 Web Player code on your website to watch the live stream.
- Note: Avoid sharing the RAW HLS Endpoint publicly as it’s intended only for additional processing.
With these steps, you can easily access and monitor your live stream. Enjoy watching your stream in action!
Content Triggers
Content Triggers are a premium feature that monitors the audio of your streams in real time. Zeus will listen for trigger words or phrases and assign them a score. Once a stream accumulates 100 trigger points, an alert is sent via an API call so you can take appropriate action based on your community guidelines.
Adding/Configuring a Content Trigger
How to Enable Content Triggers for a Stream
-
Access Streams
- From the left-hand menu, click Streams.
-
Find Your Stream
- Locate the stream you wish to enable content triggers for. You can scroll through the list or use the search box in the upper-right corner to filter the list.
-
View Stream Metrics
- On the right-hand side of your chosen stream, click Actions > View Stream Metrics.
-
Enable Content Monitoring
- On the stream summary page, in the upper-right corner, click Content Monitoring. This action will enable content trigger monitoring for that stream.
Your Content Triggers are now set up and active. Zeus will start monitoring the stream's audio, and once the cumulative score reaches 100 points, you’ll receive an alert via the configured API. Enjoy the enhanced control over your streaming content!
How to Go Live with Zeus and OBS
Below is a detailed step-by-step tutorial on how to locate your RTMP Endpoint and RTMP Key from your Zeus Cluster dashboard and configure them in OBS for streaming. Where possible, sample screenshots are indicated as placeholders—simply replace these with your actual images when preparing your final documentation.
Part 1: Retrieving Your RTMP Details from Zeus Cluster
Step 1: Log in and Navigate to Streams
-
Log in to Your Zeus Cluster Account:
- Open your web browser and go to zeuscluster.com.
- Enter your credentials and log in.

-
Access the Streams Section:
- In the left-hand menu, click on Streams.
- This will take you to the Streams Overview page.
Step 2: Locate Your Specific Stream
-
Find Your Stream:
- Scroll through the list until you see your stream.
- Alternatively, use the Search Box in the upper-right corner of the table to filter for your stream.
-
View Stream Metrics:
- On the right-hand side of your stream row, click Actions > View Stream Metrics.
- This action will take you to the Stream Summary page.

Step 3: Get Your RTMP Endpoint and Key
-
Access Connection Details:
- On the Stream Summary page, locate the Actions button in the upper-right corner.
- Click on Actions > Connection Details.
- A new page will appear with your stream’s connection details.

-
Note Your RTMP Information:
- RTMP Server: This is your streaming endpoint.
- RTMP Key: This unique key authorizes your stream.
- Optionally, you may see additional endpoints (like HLS endpoints or HTML5 web player code) which are useful for other purposes.
-
Copy the RTMP Server and RTMP Key:
- Highlight and copy these details; you’ll need them for configuring OBS.
Part 2: Configuring OBS with Your RTMP Details
Step 4: Open OBS and Access Stream Settings
-
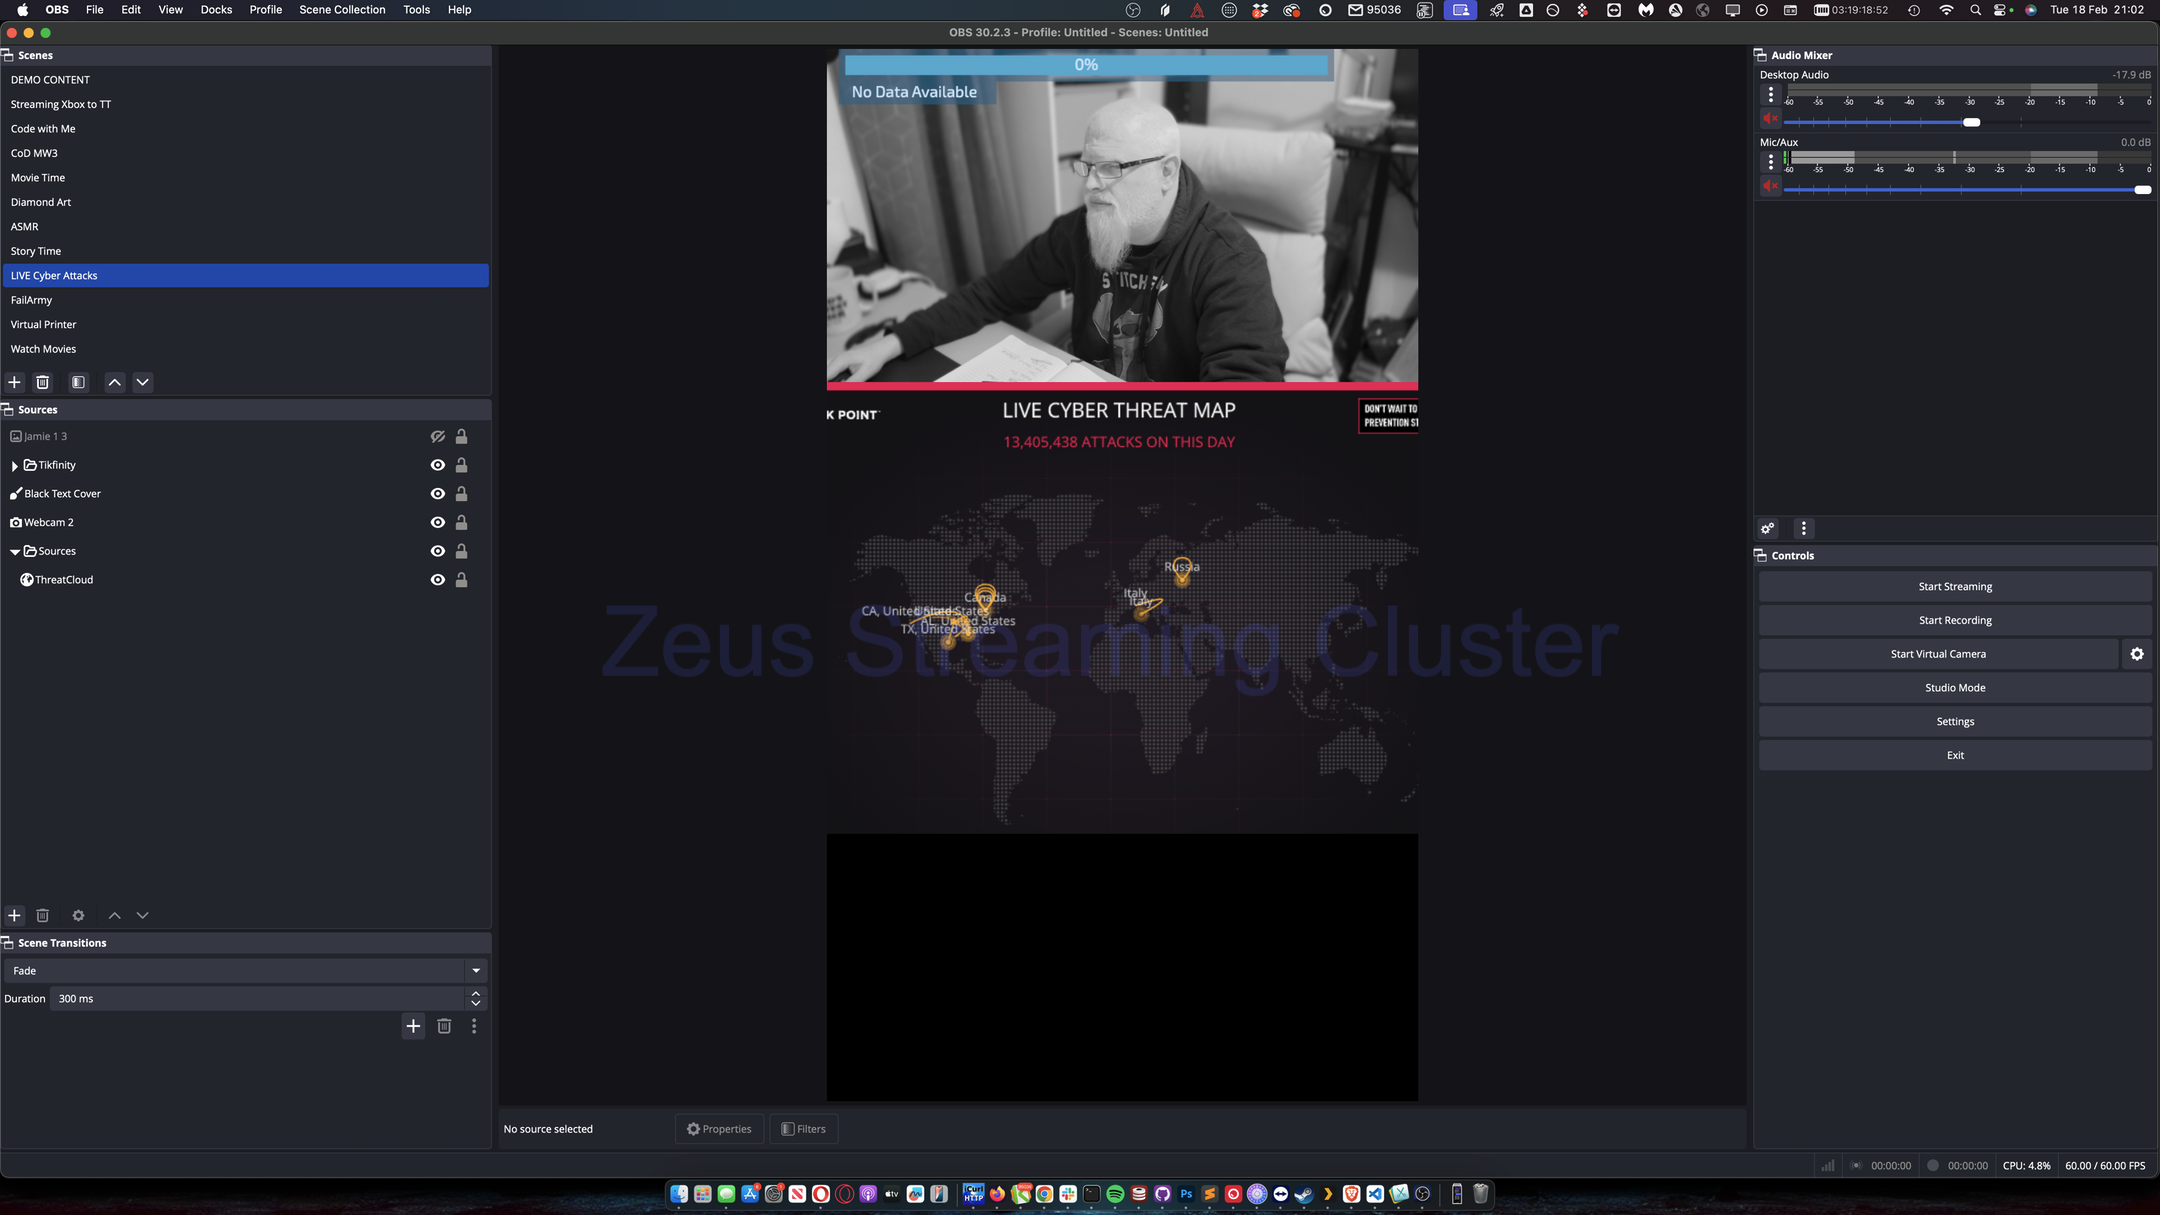
Launch OBS Studio:
- Open OBS on your computer.

-
Access Settings:
- Click on the Settings button in the lower-right corner of OBS.
-
Navigate to the Stream Tab:
- In the Settings window, click on the Stream tab located in the left-hand sidebar.

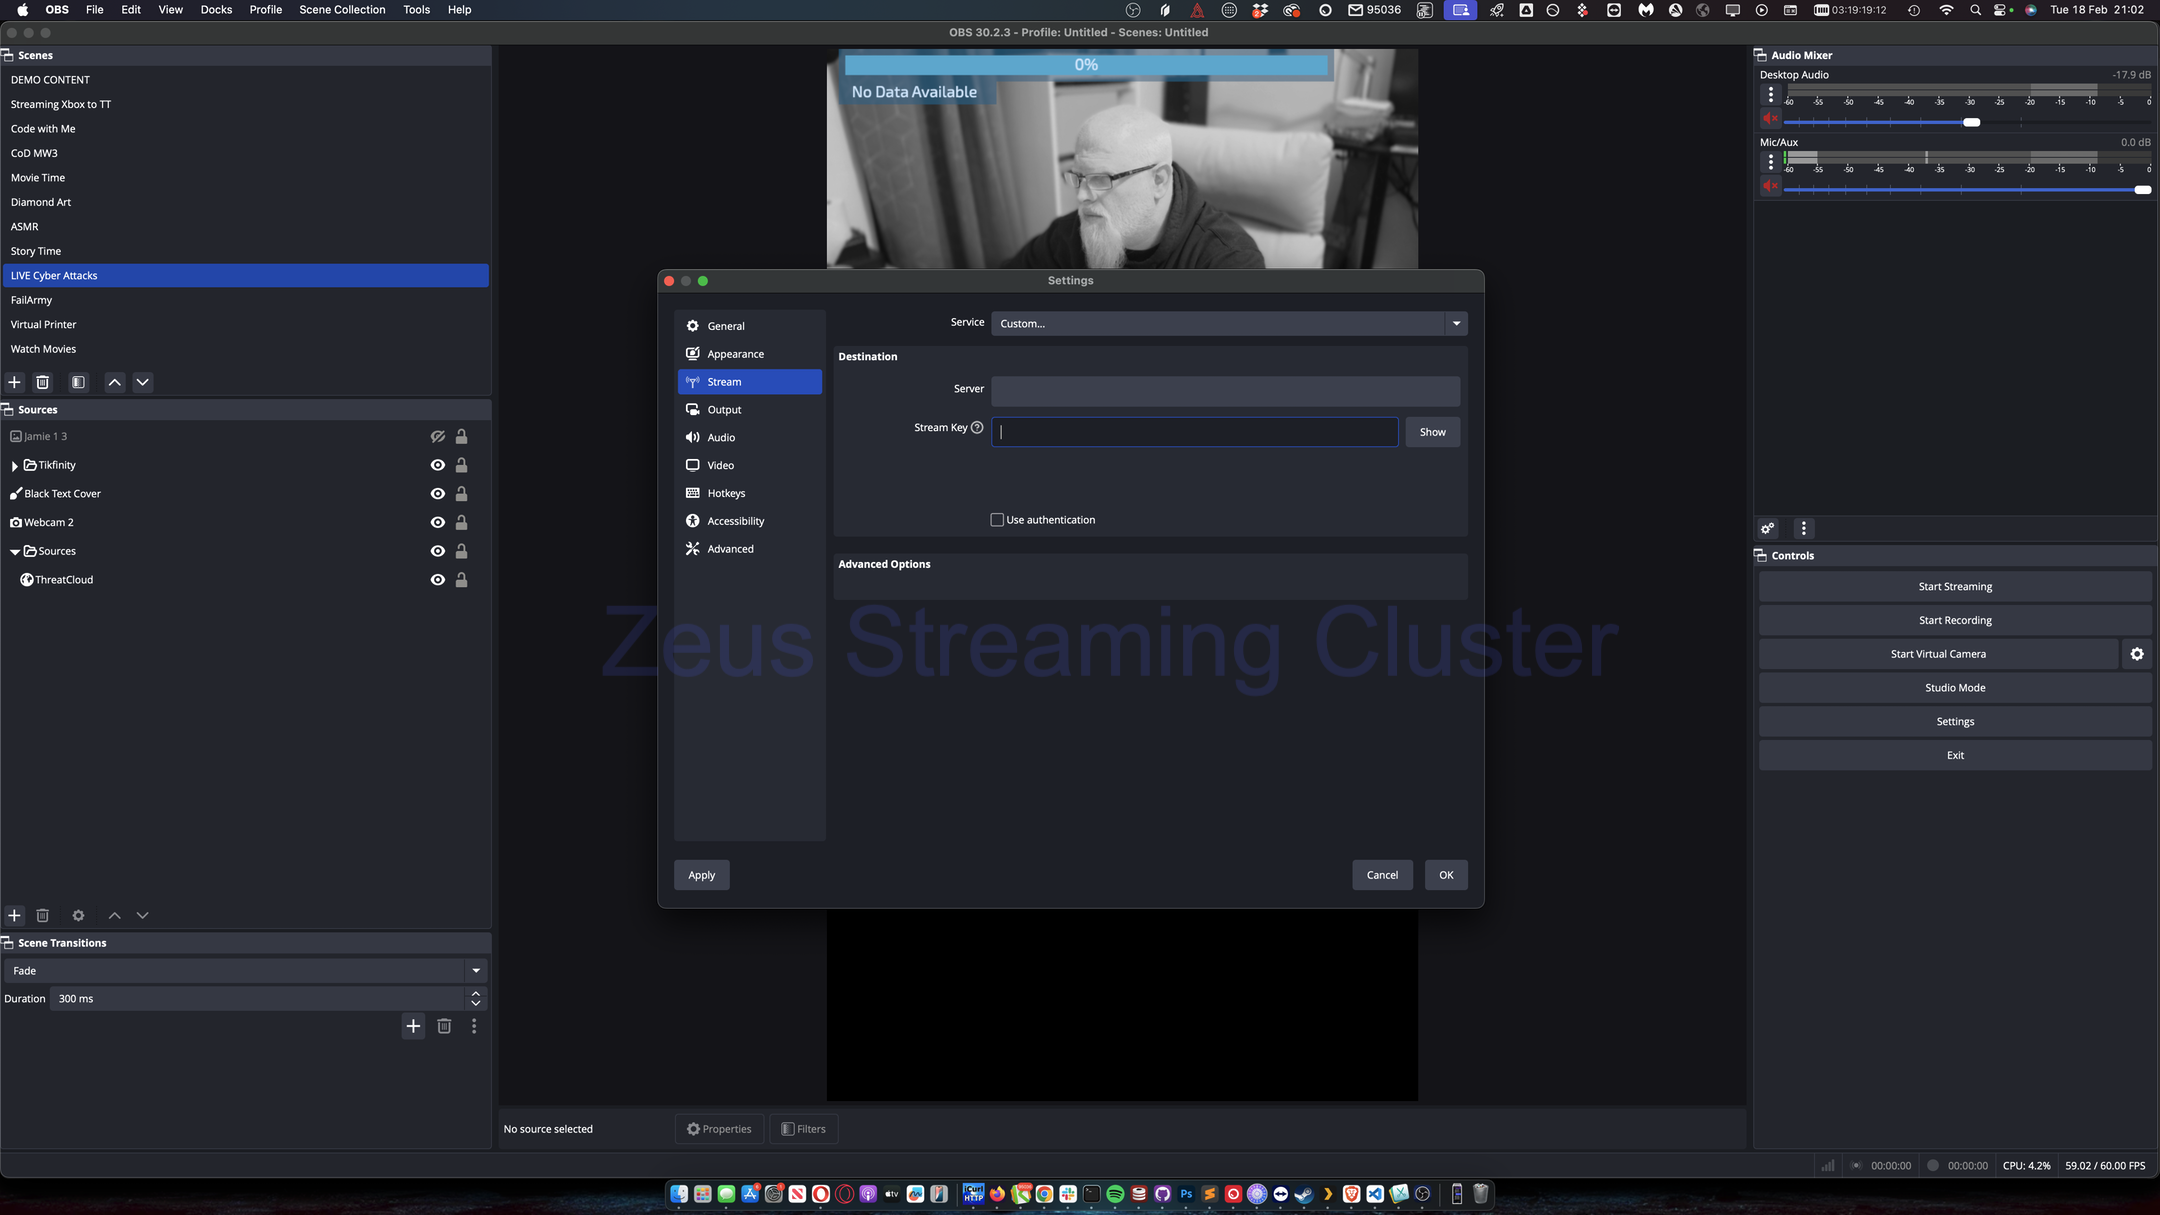
Step 5: Enter Your RTMP Server and Key
-
Select Streaming Service:
- From the Service drop-down menu, choose Custom... (if Zeus isn’t listed).
-
Paste Your RTMP Endpoint and RTMP Key:
- In the Server field, paste the RTMP Server URL you copied.
- In the Stream Key field, paste your RTMP Key.
-
Apply the Settings:
- Click Apply, then OK to save your settings.
Step 6: Start Streaming
-
Begin Your Live Stream:
- Once configured, click Start Streaming on the OBS main window.
- OBS will connect to your Zeus Cluster using the provided RTMP details.
Summary
- From Zeus Cluster: You navigated to the Streams section, found your stream, and accessed the Connection Details to retrieve your RTMP Endpoint and RTMP Key.
- In OBS: You opened the settings, selected the custom stream service, pasted your RTMP details, and saved your settings before starting the stream.
This completes your tutorial on setting up your live stream using Zeus Cluster and OBS. Enjoy broadcasting your content!